How to Setup a Local Server?
To install a local web server on your computer, you can choose from two package installations:A-) EasyPHP
B-) XAMPP
A-) How to Install EasyPHP?
EasyPHP is a package local server installation with less installation size ( ~60 MB ) compared to its counterparts. The software it contains may be several versions earlier. It allows you to keep multiple PHP versions ready and choose one of them. If you are a power user, you can manually add the current PHP version if you want. After installation, missing Windows dll file may give errors. To solve this problem, you need to find and install Windows patches that complete the missing dll files.
EasyPHP Devserver 17 includes the following software and versions:
• Apache 2.4.25
• MySQL 5.7.17
• PHP 5.6.30
• PHP 7.1.3
» Estimated time: 5 minutes
» Prerequisites:
– PC with Windows operating system (7, 8, 10 or newer)
– Internet connection
– 600 MB of free disk space
1-) EasyPHP Download

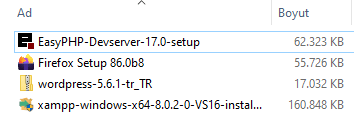
The executable file named 'EasyPHP-Devserver-17.0-setup.exe' will be saved on your computer.
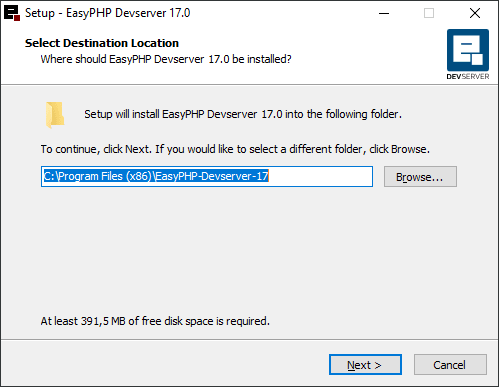
2-) EasyPHP Installation
2-1-) Run the setup file. Choose which directory on your disk the installation will be made and proceed to the next step with the 'Next' button.
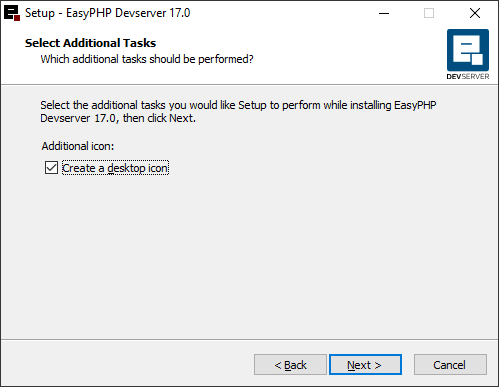
2-2-) If you wish, click the option to create a shortcut on the desktop and proceed.
2-3-) Click the 'Install' button on the screen showing summary parameters.
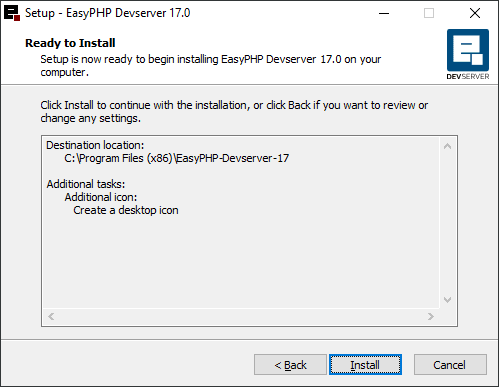
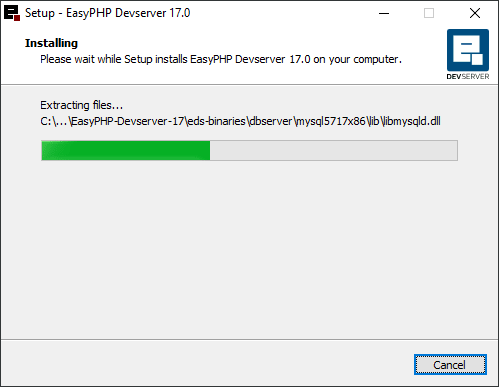
The copying of the installation files will begin.
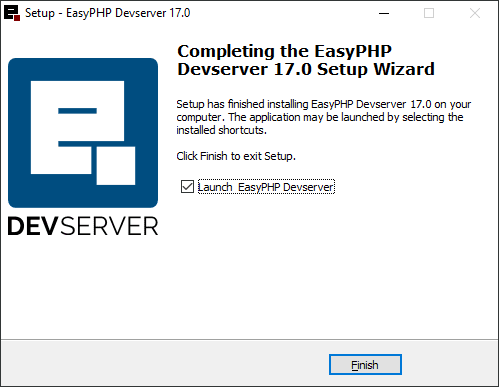
2-4-) After the process is completed, you will have completed the installation by clicking the 'Finish' button.
3-) Running EasyPHP local server
3-1-) Run EasyPHP. You will see the black 'e' icon in the lower right system area.
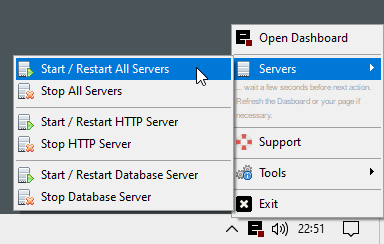
When you right-click the icon, the EasyPHP menu appears. You can select the 'Exit' item in this menu to close the program at any time.
3-2-) You can start and stop the Web server and database server with the options under 'Servers' in the EasyPHP menu. Run 'Start / Restart All Servers' to run both.
3-3-) Select 'Open Dashboard'. After clicking, your browser will start and the EasyPHP web interface will open.
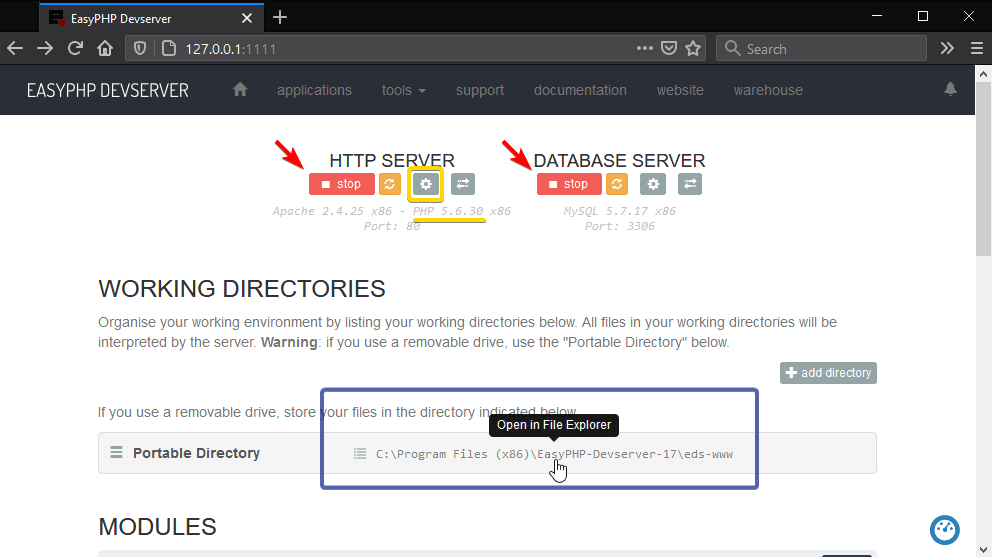
You can also start, stop and restart servers with the buttons marked with red arrows in the picture.
PHP 5.6.30 version is running as you can see in the picture below with a yellow line. We mentioned that you can optionally switch between different PHP versions with EasyPHP. If there is more than one version option, you can set the server to work with as follows:
3-4-) lick the gear wheel button shown in the yellow frame. In the 'PHP version' line in the window that opens, you will see the installed versions in the options that drop down. Choose the version you want. It is recommended to set the port number to 80. If the port number is 1111, the root address of the local web server will be 'http://127.0.0.1:1111/' ( or http://localhost:1111/ ). If you set the port number to 80, simply type 'http://127.0.0.1/' ( or http://localhost/ ) in the address bar of your browser to access your web server. After making the settings changes, restart the server with 'restart'.

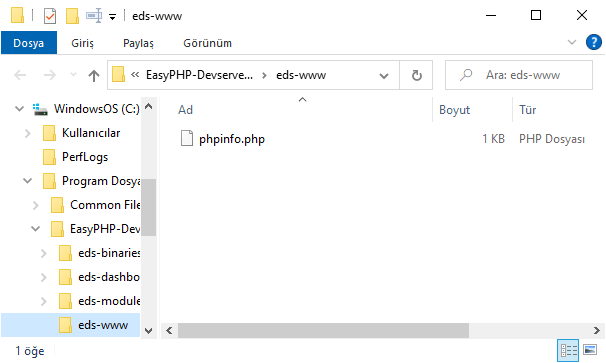
3-5-) In the list under the 'Working Directories' heading, there are directories determined on your disk. The web server interprets and executes the files in this directory. As can be seen in the 'Portable Directory' line marked with a blue frame in the picture, the 'C:\Program Files (x86)\EasyPHP-Devserver-17\eds-www' directory is selected. When you visit the 'http://127.0.0.1/' address in your browser, the local web server lists this directory and/or reads files such as html, php under this directory and displays it to you as a page.
3-6-) When you click the 'open' button marked with a red arrow to the right of the 'MySQL Administration PhpMyAdmin 4.7.0' line under the 'Modules' heading, the PhpMyAdmin window opens.
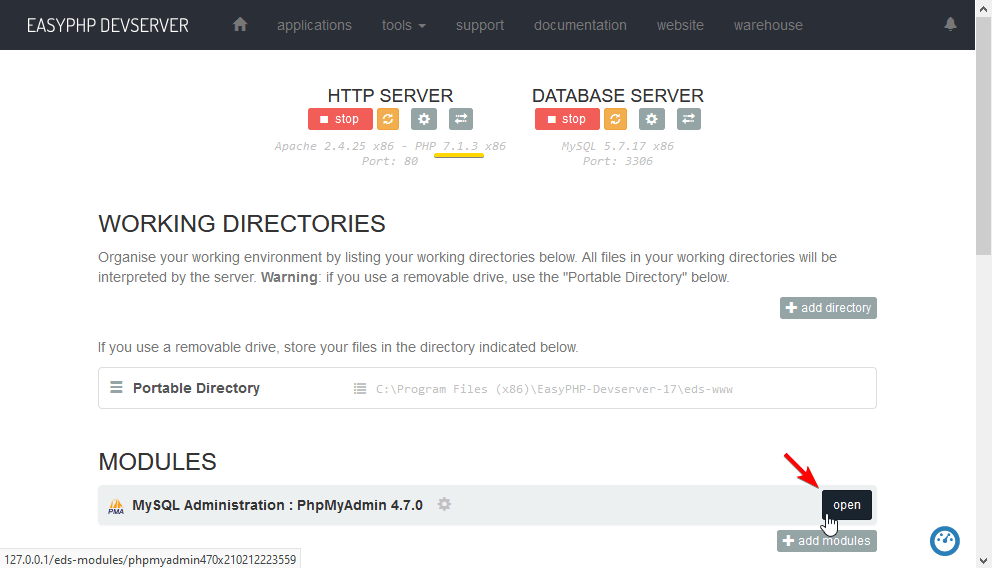
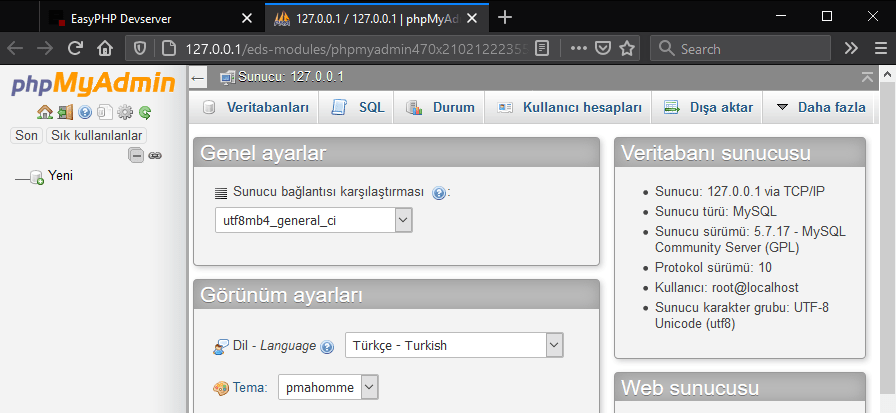
With phpMyAdmin, you can manage database through your browser. You can create and delete database, table, tablespace, data record, run database query.
When you complete the step-by-step explanation of the EasyPHP installation above, you can run pages programmed in PHP on your own computer and perform query operations by establishing a database connection.


0 comments:
Post a Comment
ⓘ Comment is published after moderation.