Apache, PHP and MySQL software must be installed in order to set up and open a programming-based website, such as WordPress or OpenCart, on your personal computer. In this article, you will learn how to install these software on a computer with a Windows operating system. You can manually install each of these software separately. But there are different combined installation packages that we can use to make it faster and easier. With these package installations, a single installation is made. When you install it, these softwares we need are set to work in compatible with each other and they are ready to use.
How to Install XAMPP Local Server?
To install a local web server on your computer, you can choose from two package installations:
A-)
EasyPHPB-)
XAMPPA-) How to Install XAMPP?
XAMPP is one of the leading local server installation packages. The scope of the software it includes is wide and its versions are kept up to date. It may be a good choice to choose XAMPP for this.
Now let's explain the steps of installing the XAMPP local server on our computer in detail.
»
Estimated time: 5 minutes»
Prerequisites:–
PC with Windows operating system (7, 8, 10 or newer)–
Internet connection–
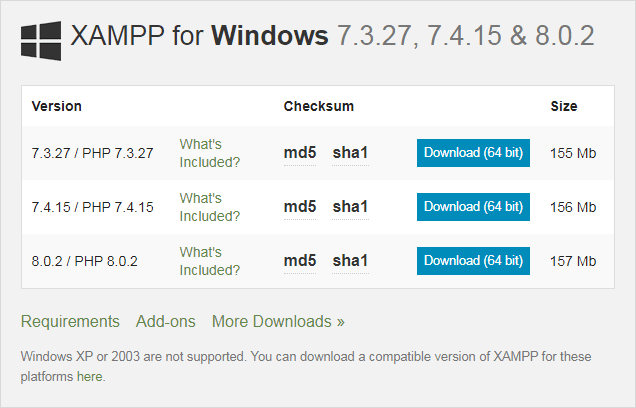
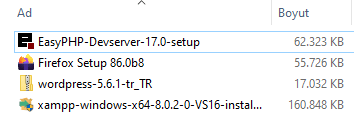
700 MB of free disk space1-) Download XAMPP
The executable file named 'xampp-windows-x64-7.4.10-0-VC15-installer.exe' will be saved on your computer.
The current package of XAMPP includes the following software and versions:
• Apache 2.4.51
• MariaDB 10.4.21
• PHP 8.0.12
• OpenSSL 1.1.1
The latest PHP version usually only has the 'Secure' feature. You would have made a better choice instead by using the PHP version that is both 'Stable' and 'Secure'. For example, while the most recent version released is 8.0, this version only qualifies as 'Secure'. However, in the same time period, 7.4 is both 'Stable' and 'Secure' as its vulnerabilities were found and closed as a result of its more widespread use, and it is recommended to use this version.
2-) XAMPP Installation
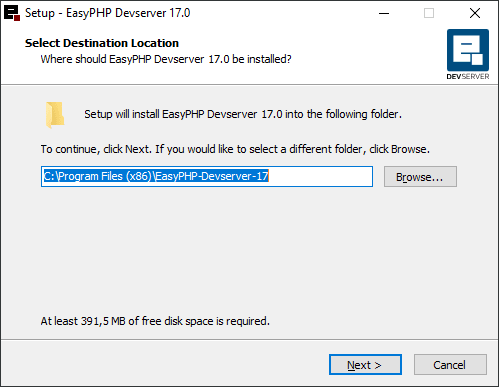
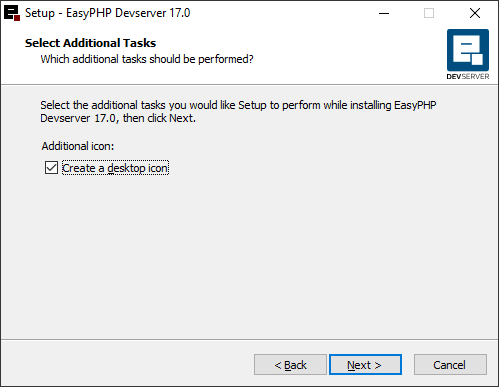
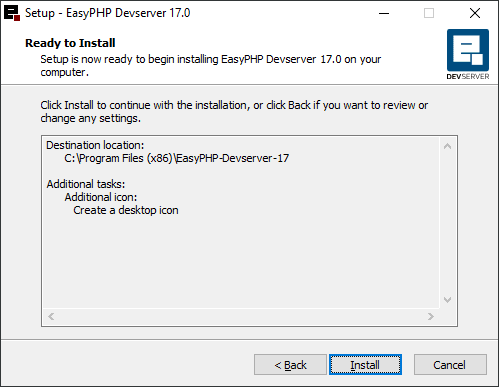
2-1-) Run the downloaded file and start the installation.
Proceed with the "Next" button on each new installation screen.
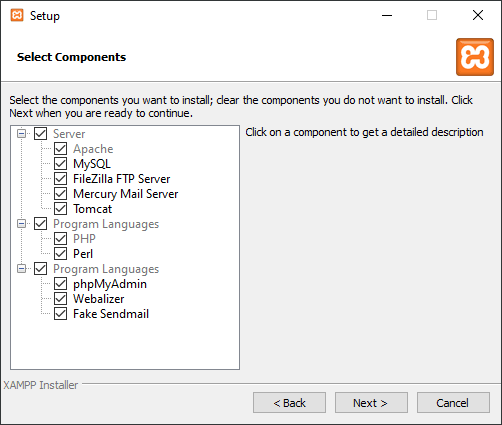
2-2-) Select which components to install while the components in the package. Apache, PHP, MySQL and options must be ticked. It is recommended to select all.
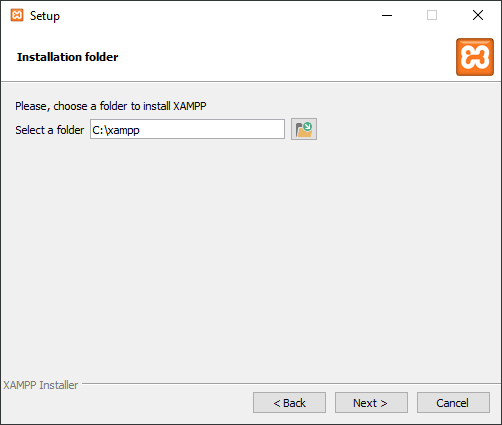
2-3-) Select the directory where the installation will be made.
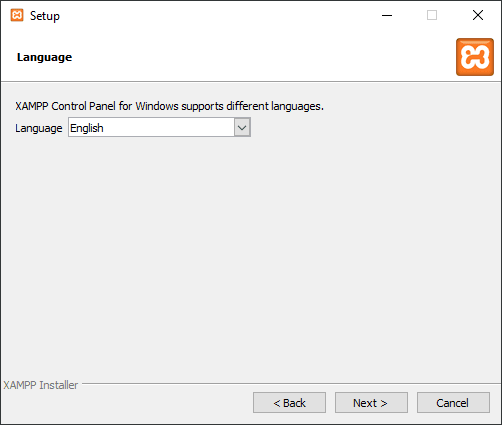
2-4-) Choose which language XAMPP's control panel will be in. This selection does not affect the site you will set up. You can select the language "English".
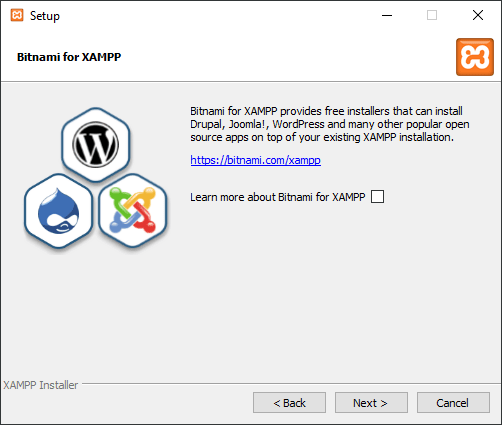
2-5-) Uncheck the checkbox to not open the information page.
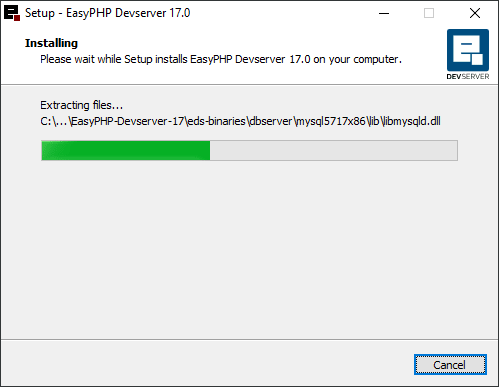
2-6-) The installation files will start to be copied. Wait until it completes.
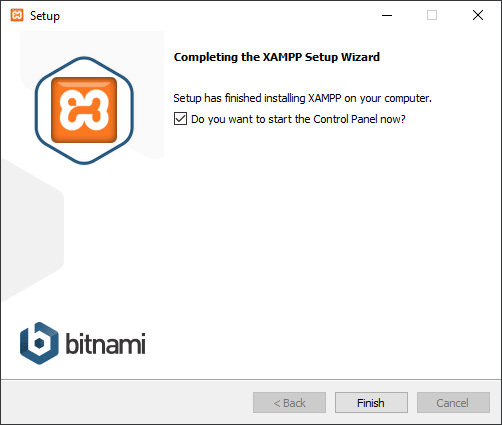
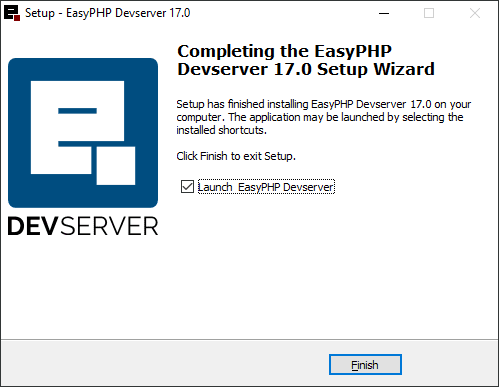
2-7-) Click the "Finish" button to finish the installation.
3-) Running XAMPP local server
3-1-) Run XAMPP. You will see the orange 'x' icon in the lower right system area. Open the XAMPP main window.
You can click the 'Quit' button in the main window to close the program at any time.
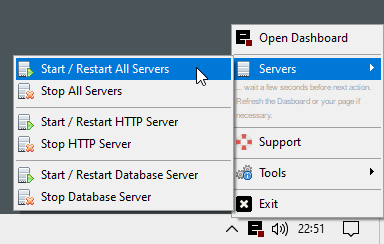
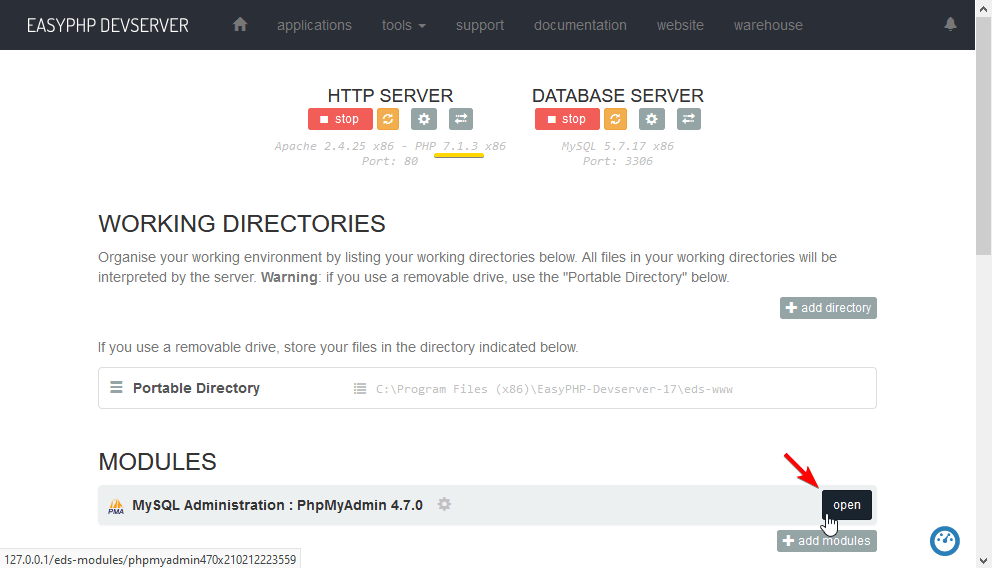
3-2-) Run the local web server and database server by clicking the 'Start' buttons shown in yellow frame to the right of 'Apache' and 'MySQL'.
When the servers start working, the background color of their names will be green. When you click the 'stop' buttons the server stops.
You can have the servers running automatically every time XAMPP starts. To do this, click the 'Config' button at the top right of the main window. Select the 'Apache' and 'MySQL' boxes under 'Auto start of modules' in the window that will open. Save the settings with the 'Save' button.
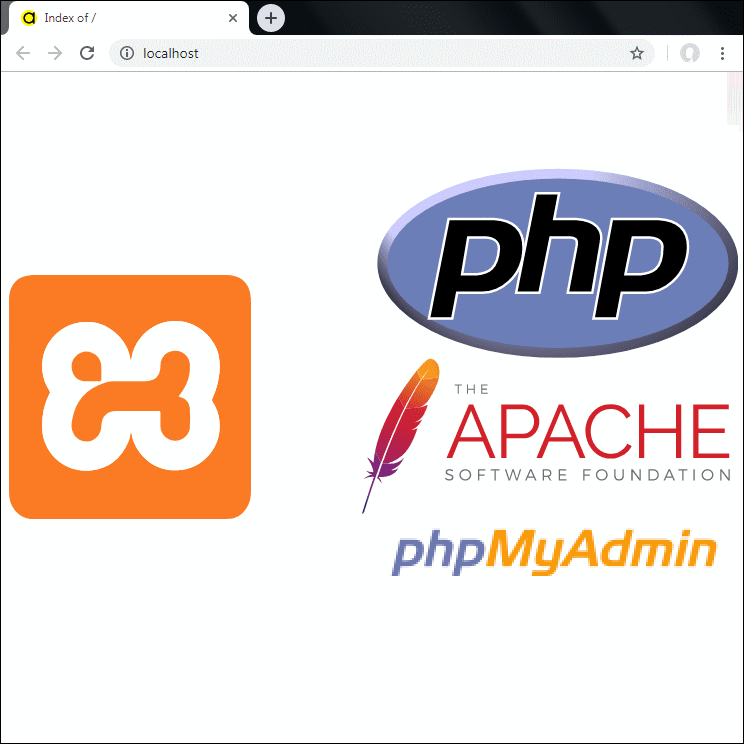
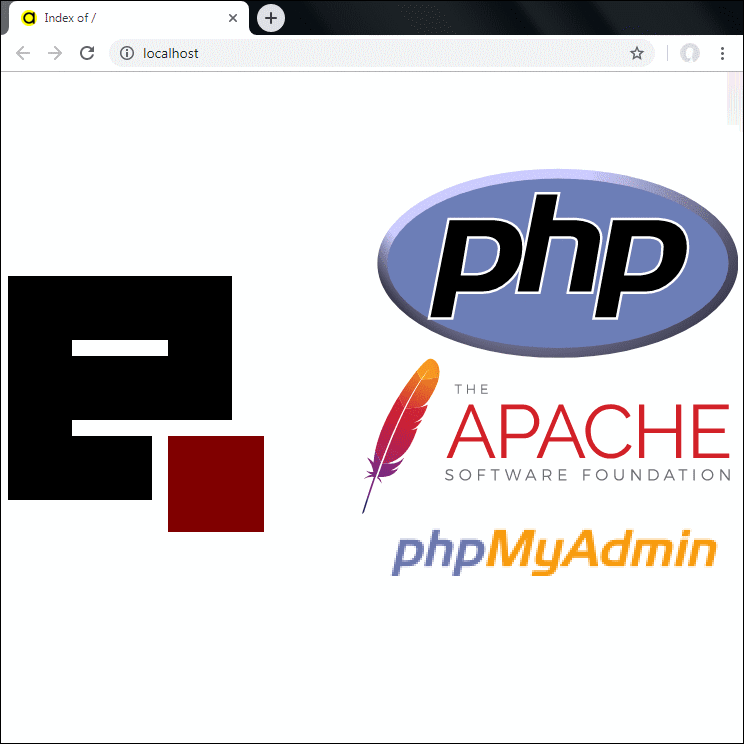
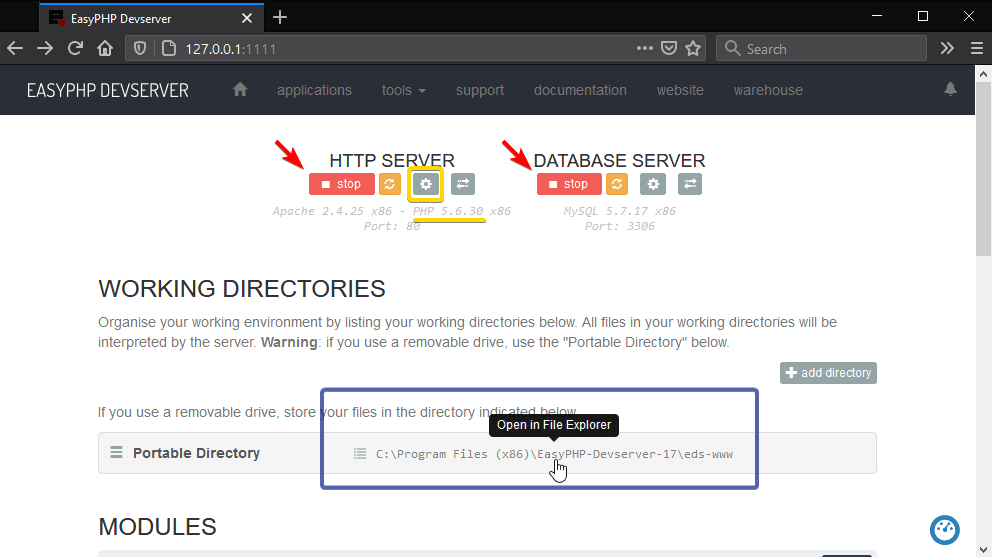
3-3-) Open 'http://127.0.0.1/' ( or 'http://localhost/' ) in your browser. You will see a welcome page prepared by XAMPP.
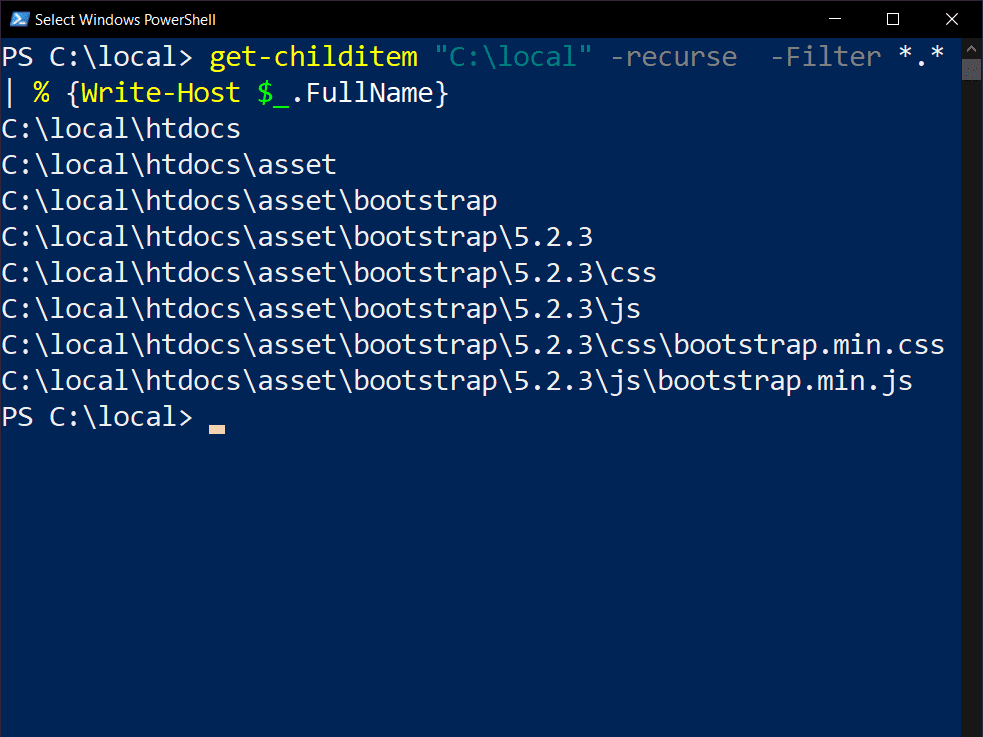
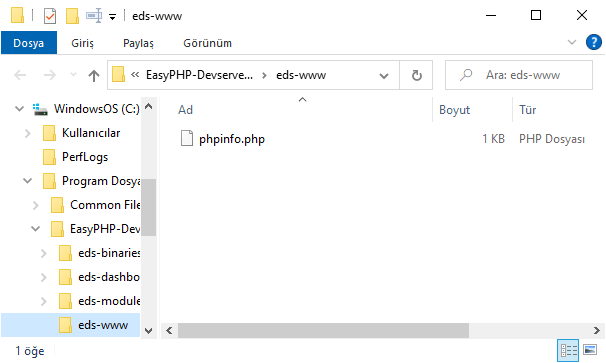
Let's assume that the directory you selected while installing is 'C:\xampp'. The local web server interprets the files in the 'C:\xampp\htdocs' directory and displays them in the browser. You will save the files of the new sites you will create in this directory. When you open the local server in the browser, the file 'index.php' in the root directory will automatically run and point the browser to 'http://127.0.0.1/dashboard/' ( or 'http://localhost/dashboard/' ). The welcome message you see in the browser comes from the file 'index.html' in the 'C:\xampp\htdocs\dashboard' directory. You can then rename the 'index.php' file in the root directory with 'hello.php'. Thus, when you open the 'http://127.0.0.1/' (or 'http://localhost/' ) address, you can see the directories and files under the 'C:\xampp\htdocs' directory listed in your browser.
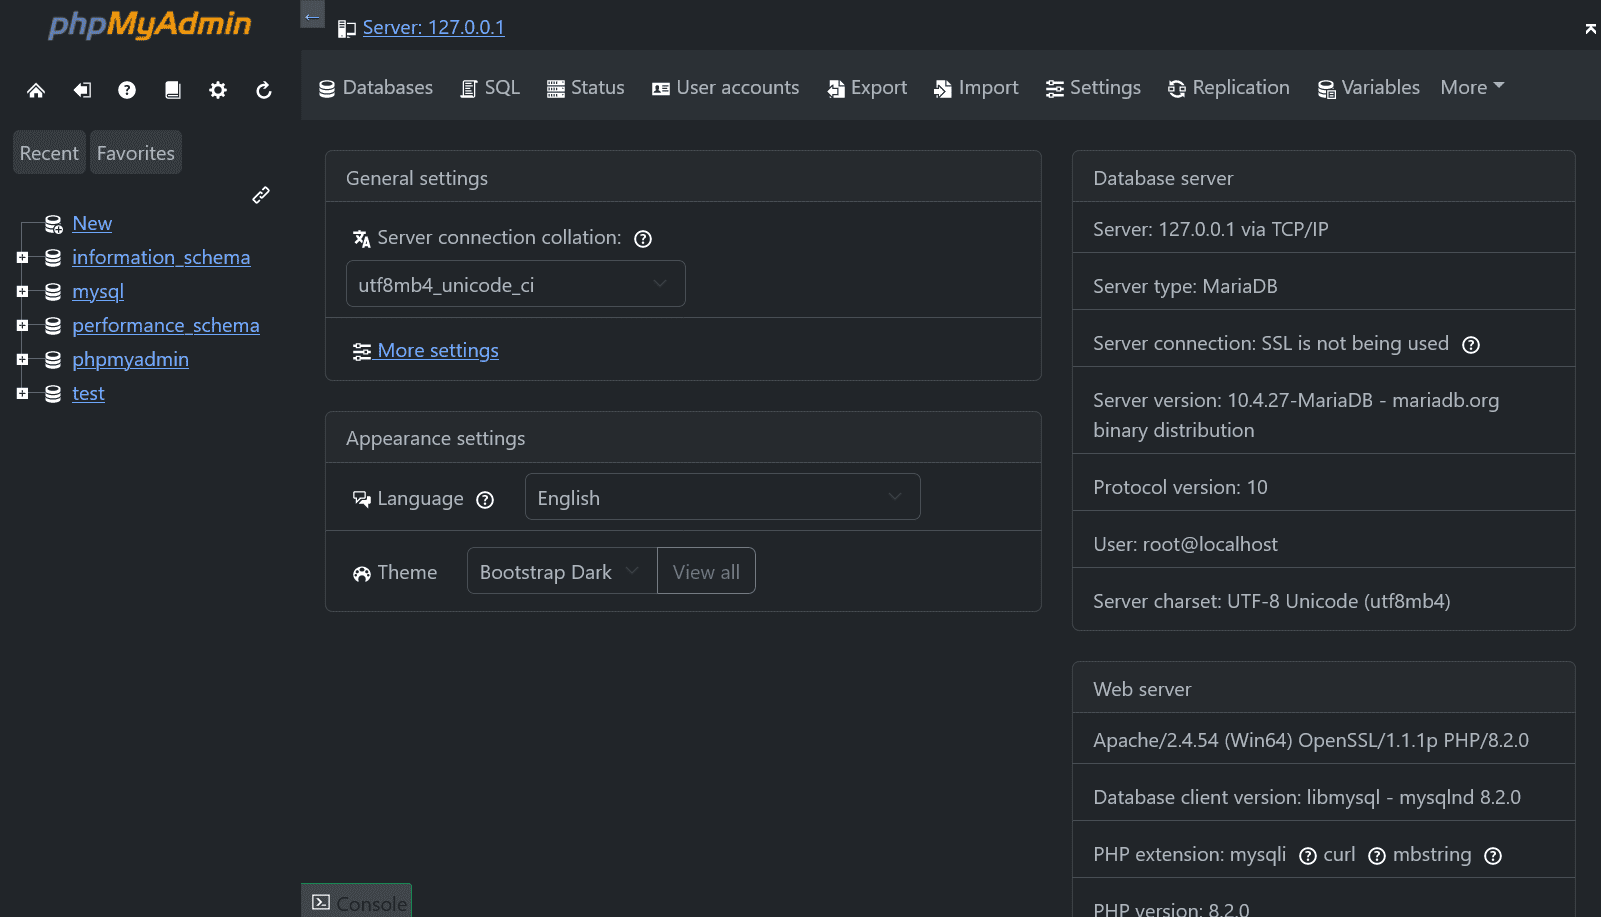
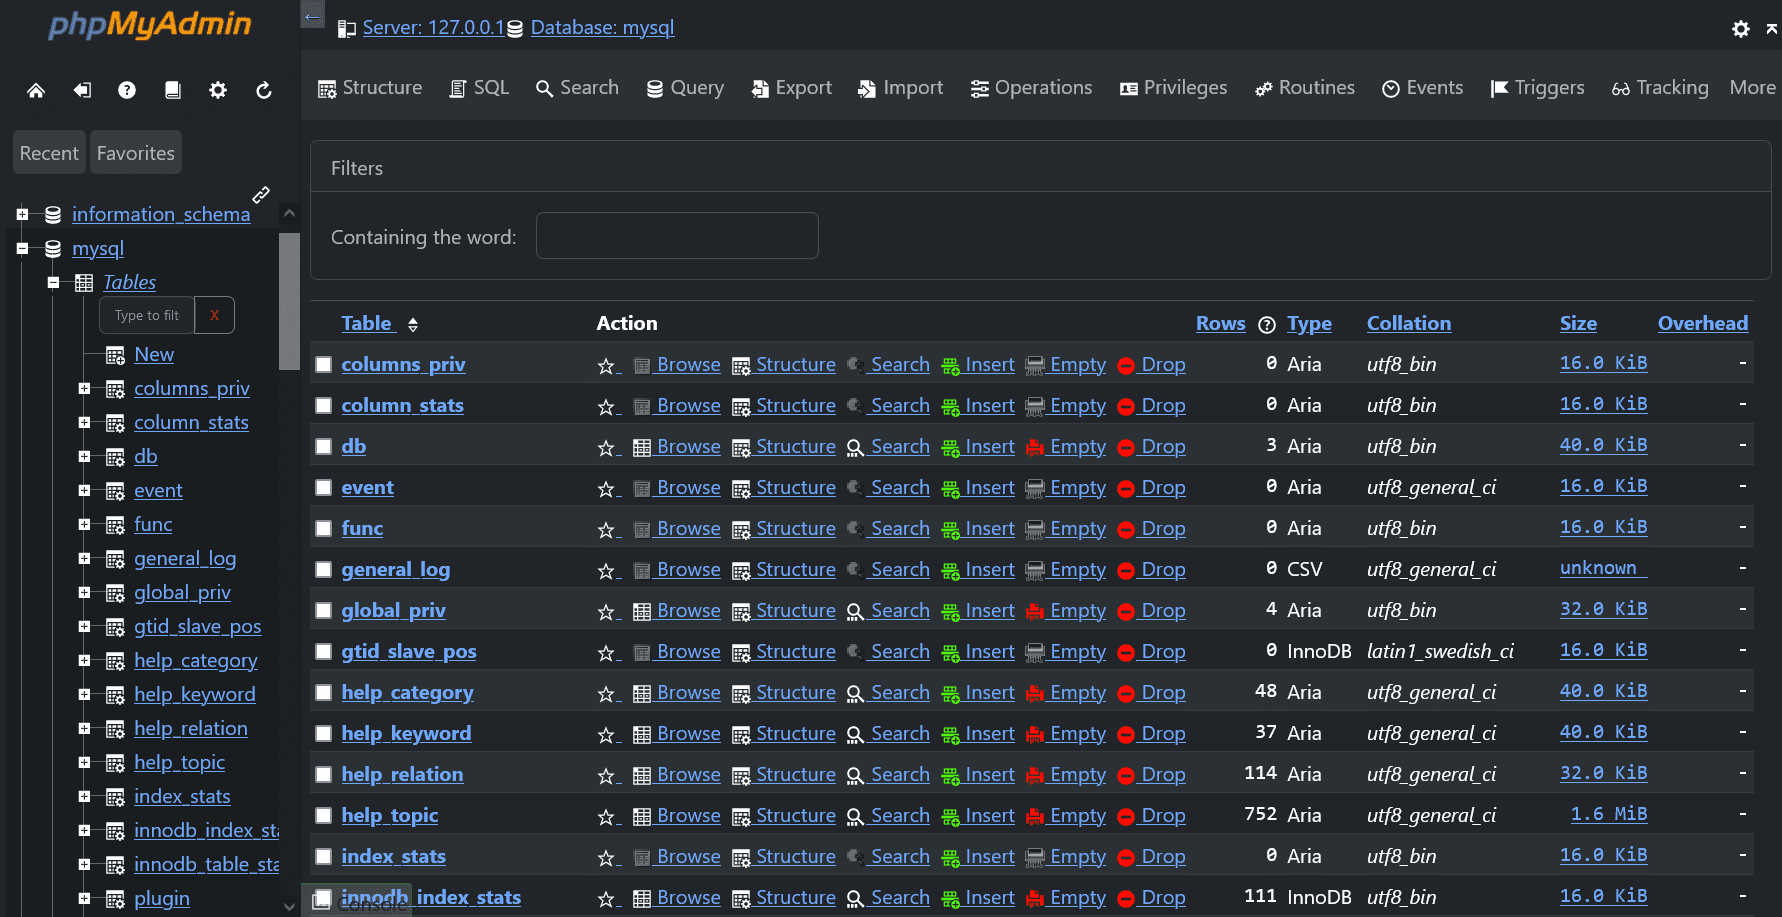
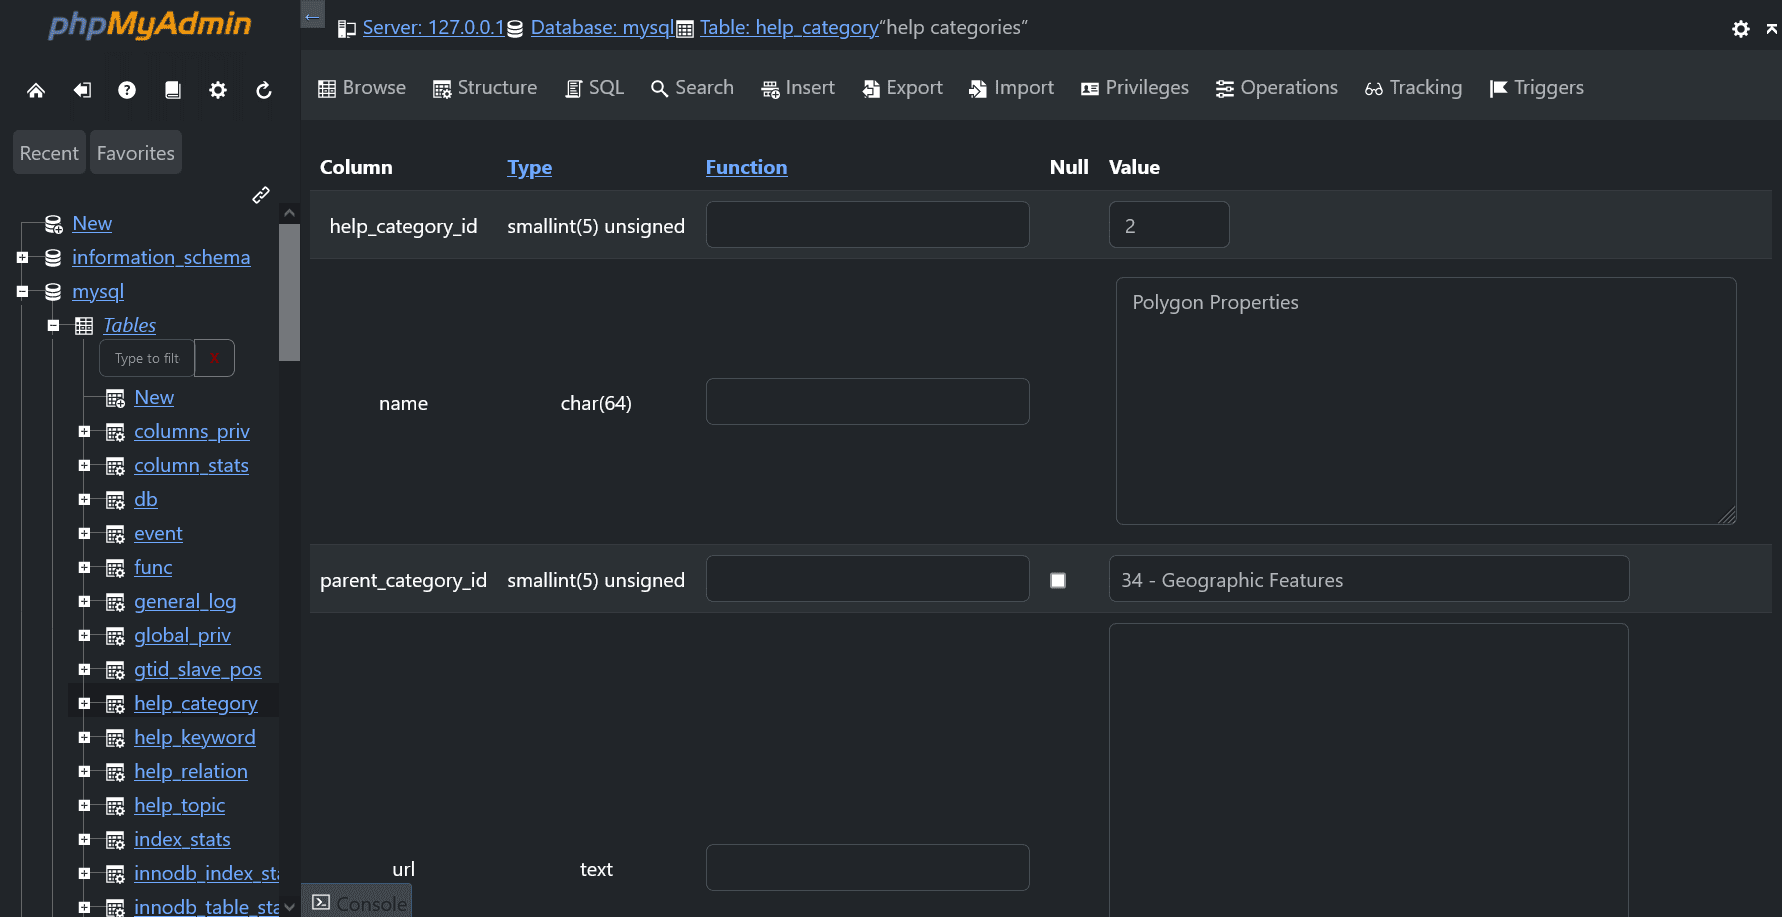
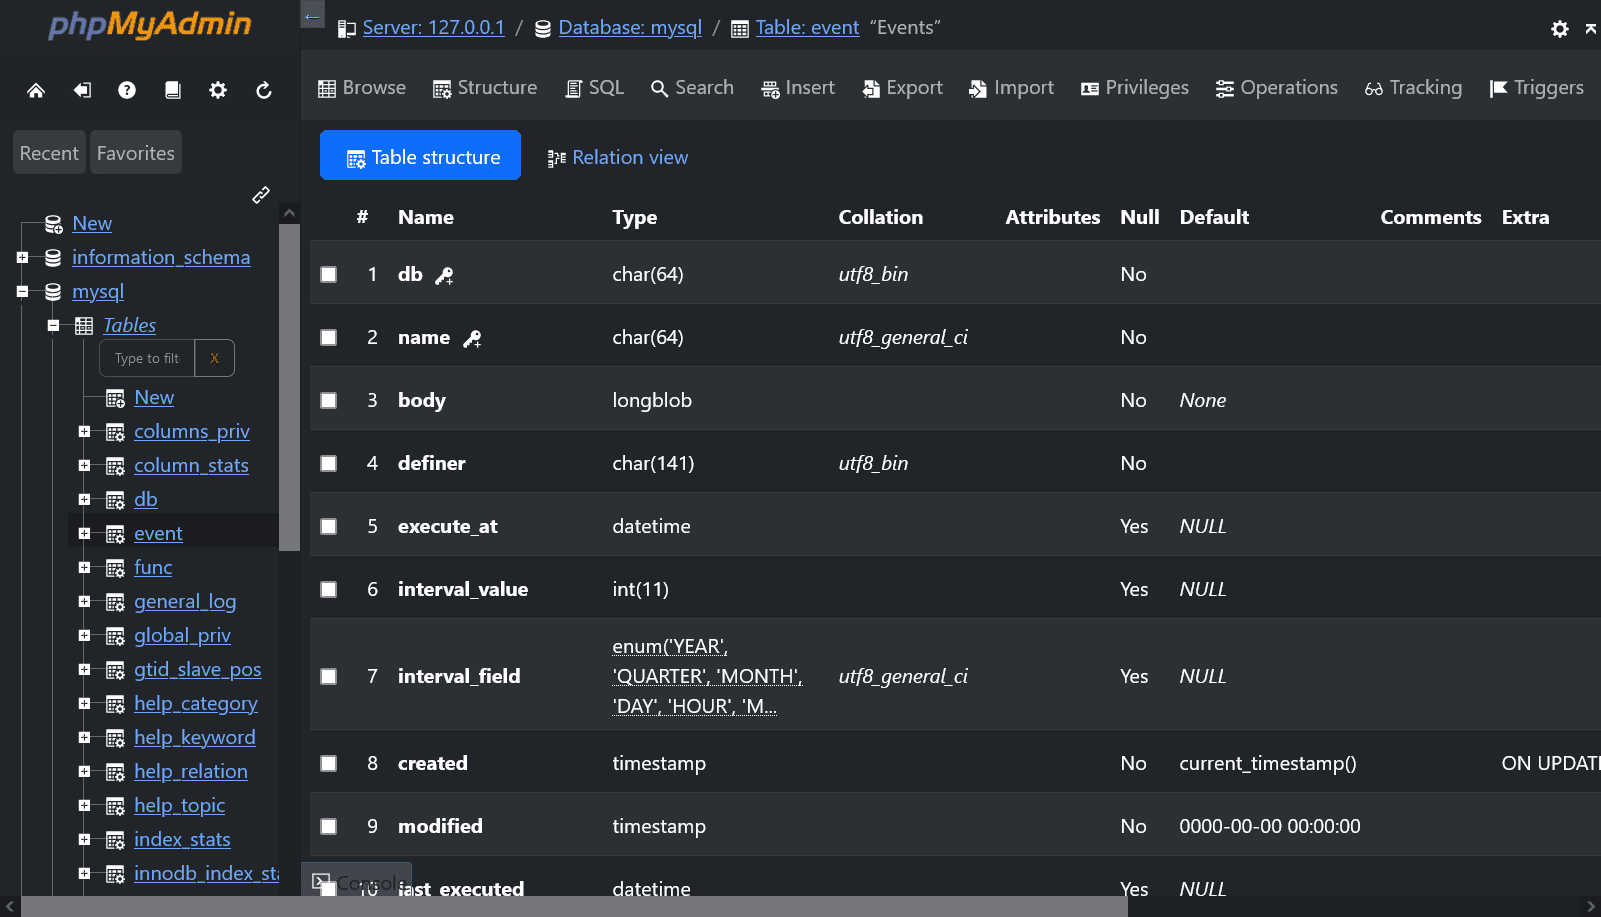
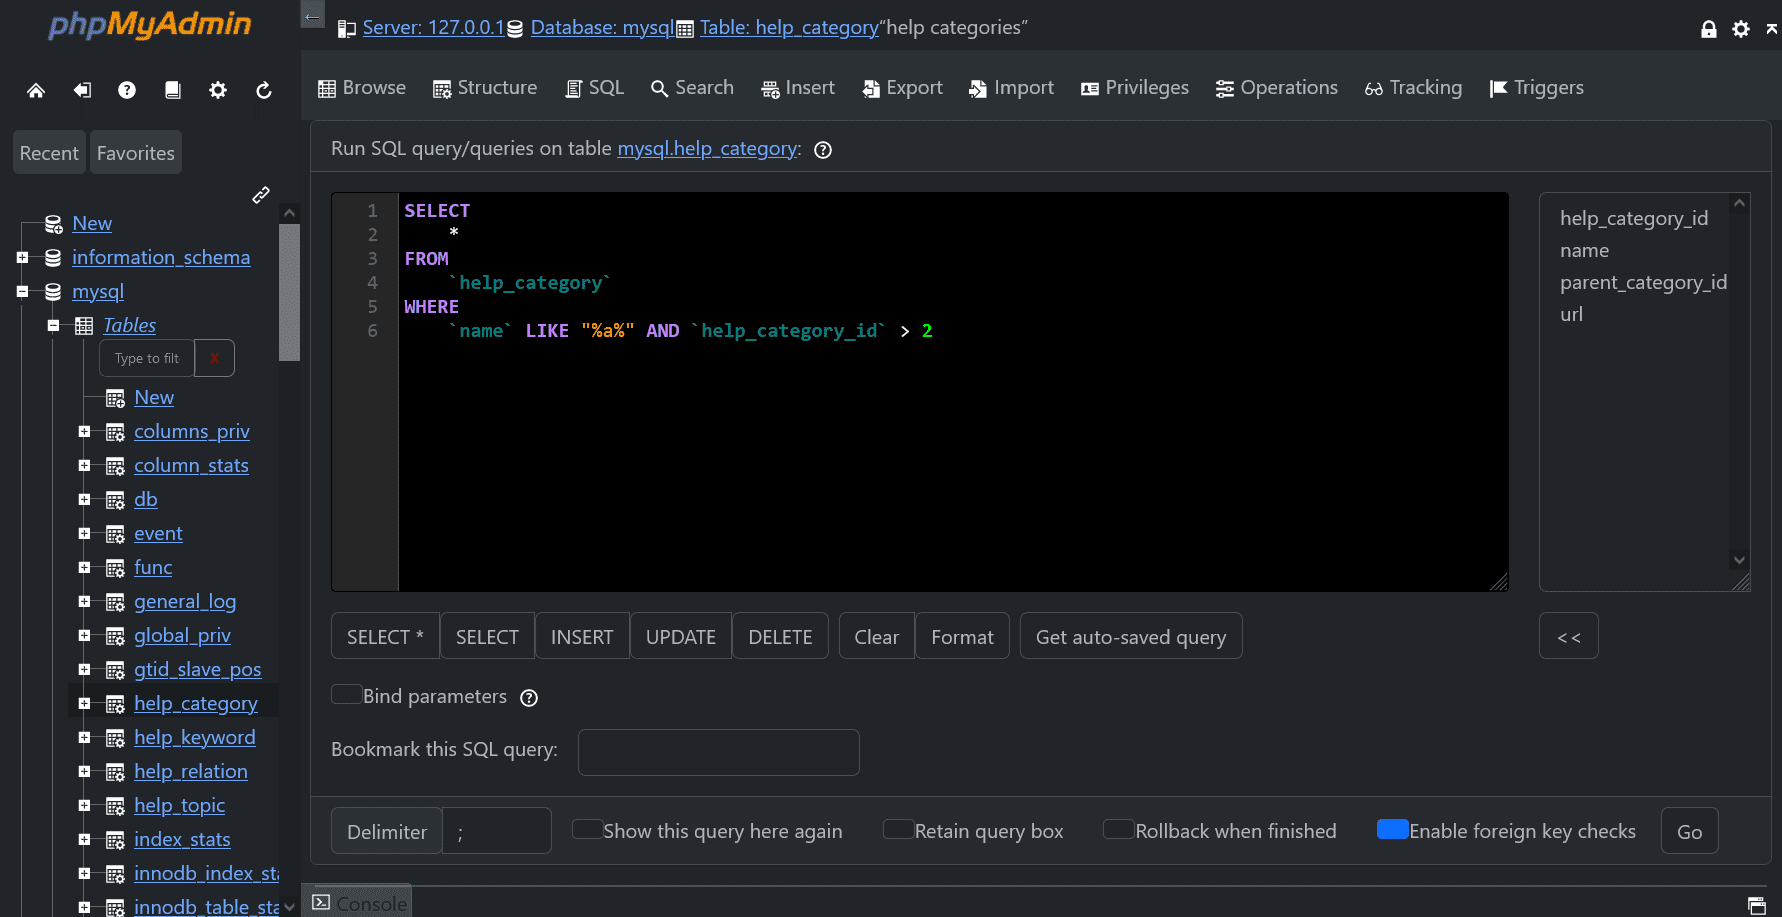
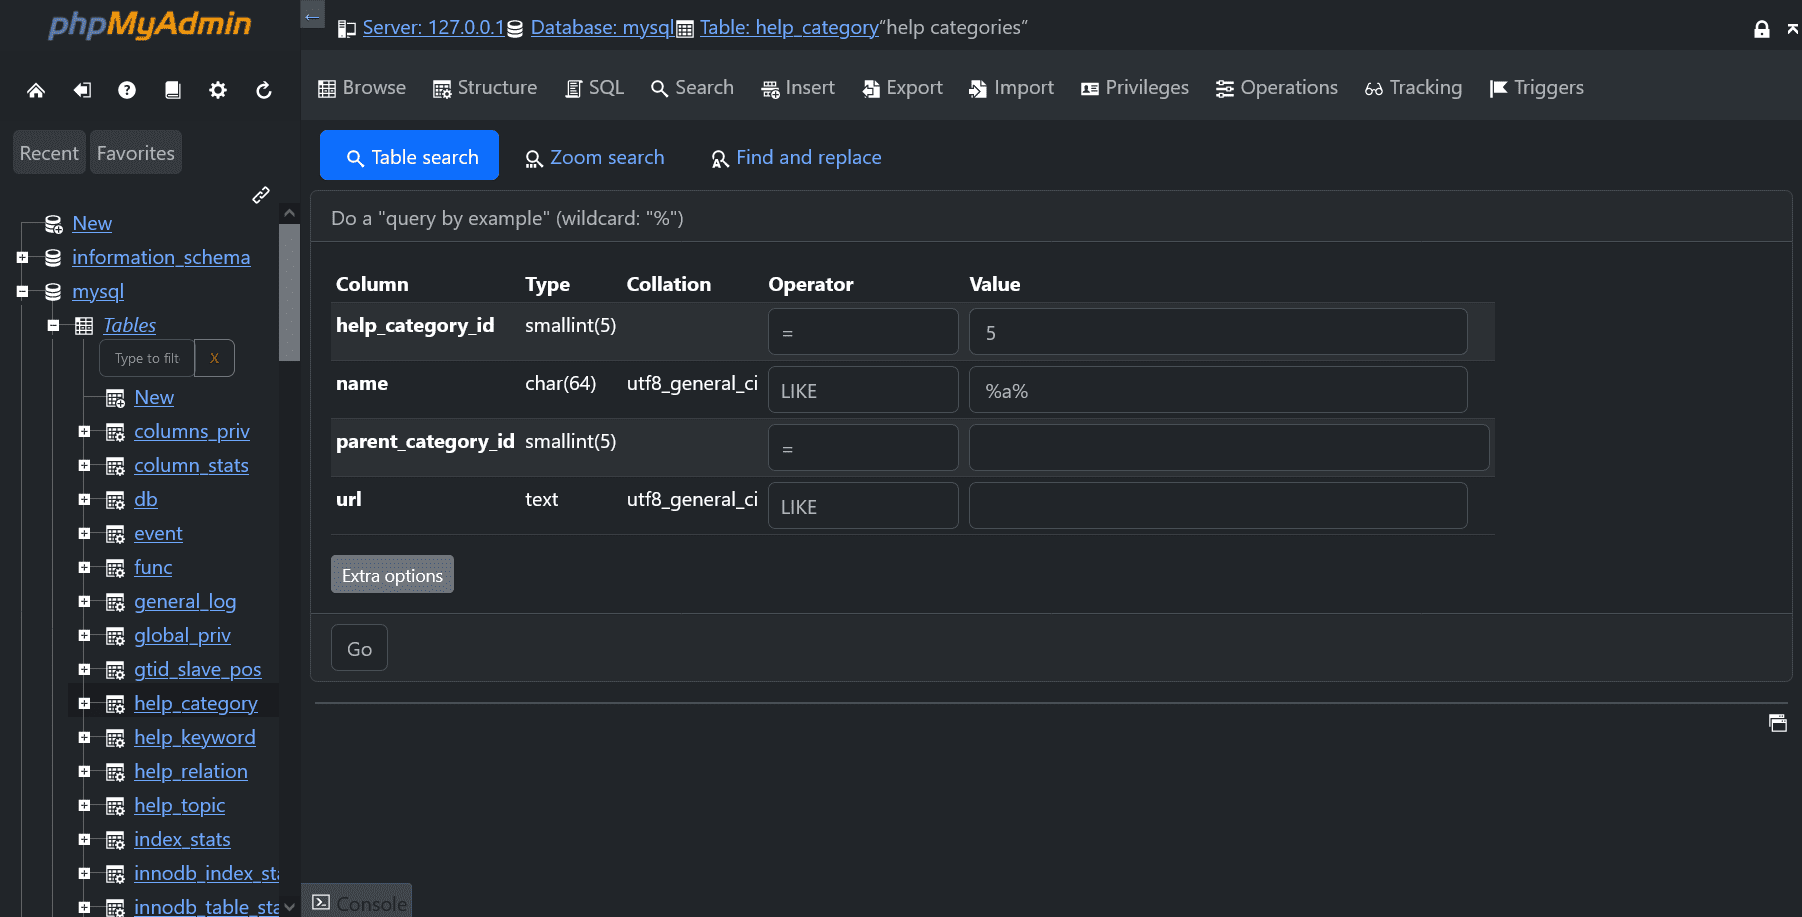
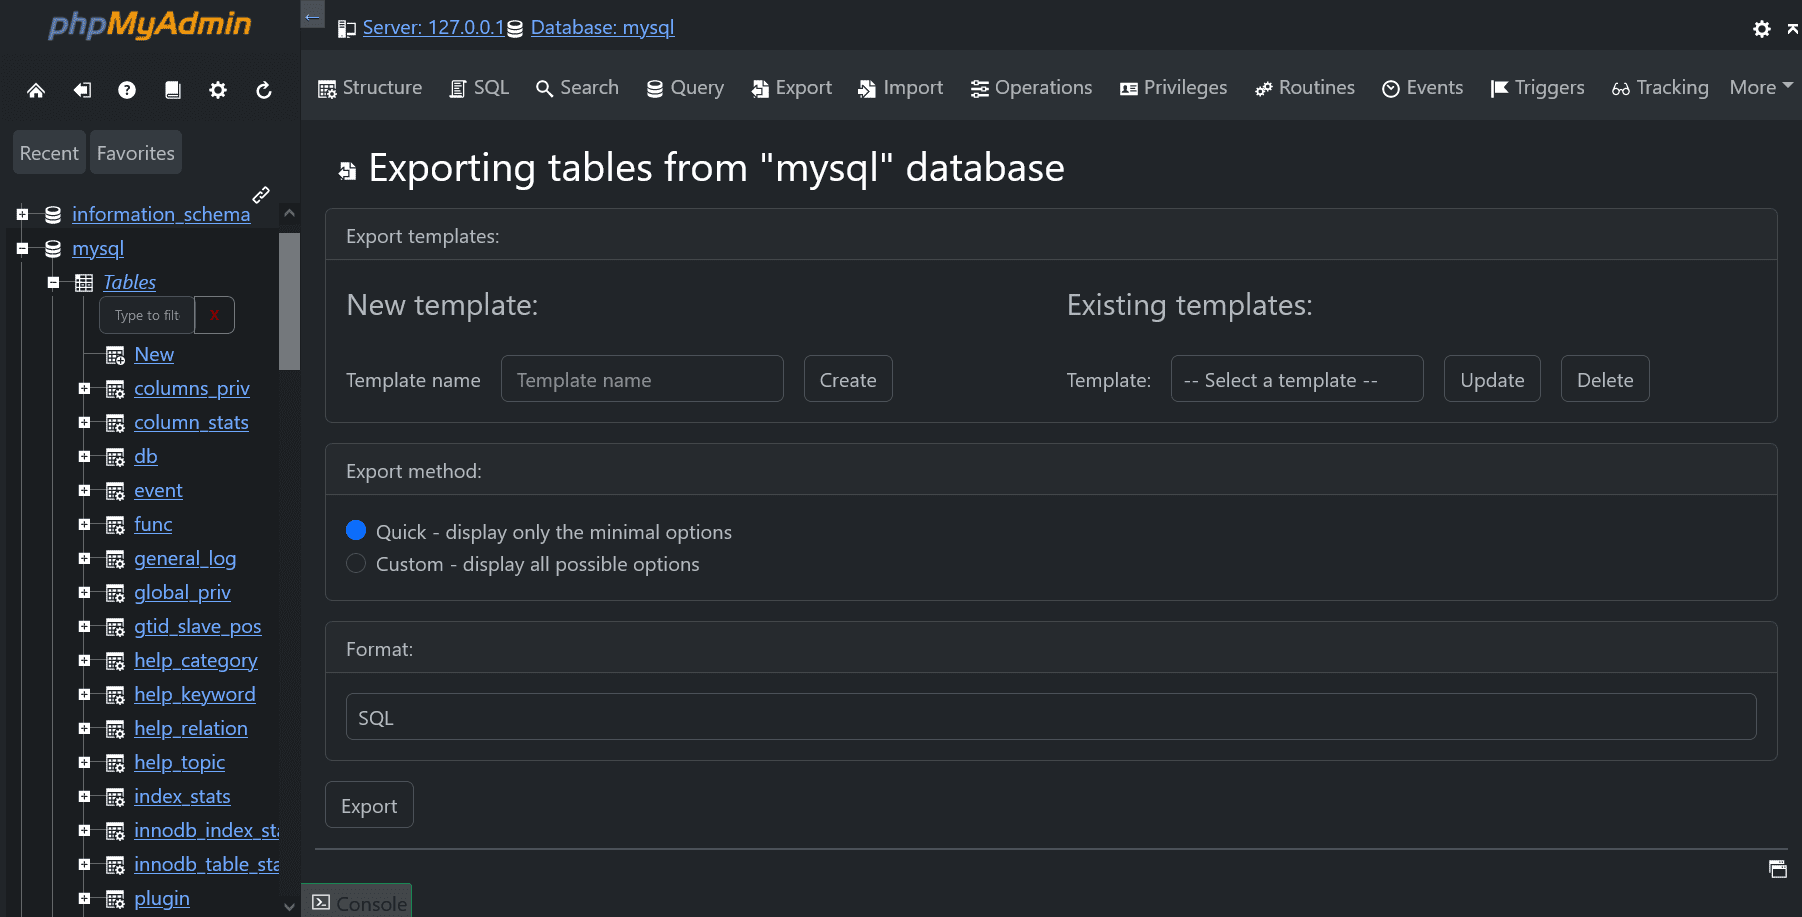
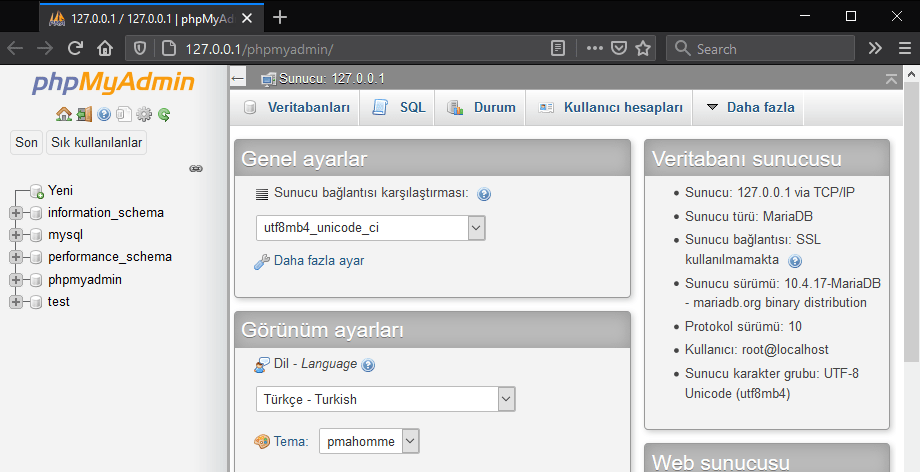
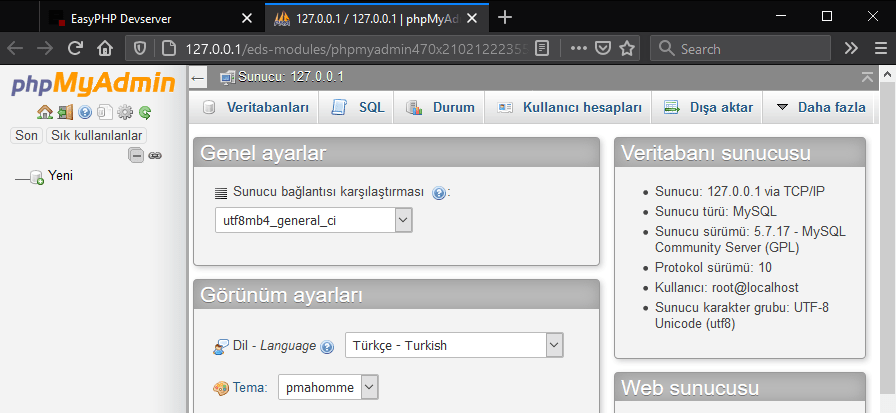
3-4-) Open the 'phpMyAdmin' link marked with a yellow arrow at the top right of the welcome page picture. The phpMyAdmin page will open. With phpMyAdmin, you can manage database through your browser. You can create, edit and delete database, table, tablespace, data record, run database query. If you want, add this address to your browser's shortcuts.
When you complete the step-by-step explanation of the above XAMPP installation, you can run the pages programmed with PHP language on your own computer and perform query operations by establishing a database connection.